|
|
|
DRUM TO DISK BRAKE SWAP (93-97 F-Body)
By Loochy88
What you will need:
A set 93-97 Rear Calipers
Backing Plates
Rear 93-97 Rotors
E-Brake Cables For The Disk Brake Setup
GM shim # 12471185
A Basic Set of Tools
New Brake Pads
Brake Fluid
Gear Oil
Grease for the Calipers
Most of these parts can be purchased from Trans Am Creations. If you find that
they are out of stock (as I did) then your best bet is ebay or one of these
message boards, as buying these parts would be much more expensive (I paid $100
for the same kit you can get from Trans Am Creations).
There are several types of grease that can be applied when re-greasing the
calipers. Your local auto parts store will be able to tell you what sort of
grease to use.
Install:
Begin by Jacking up the rear of the car and placing jack stands under the rear
jacking points on both sides. Make sure you put blocks around both front wheels.
I also placed a small hydraulic jack under the differential so that I could
raise and lower it as needed. Pull off the top of the drums.
Next get something for the differential fluid to drain into and remove the
cover. Remember the fluid drains best when its warm.
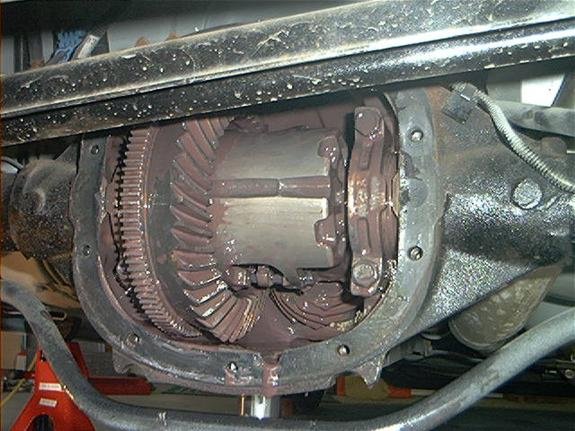
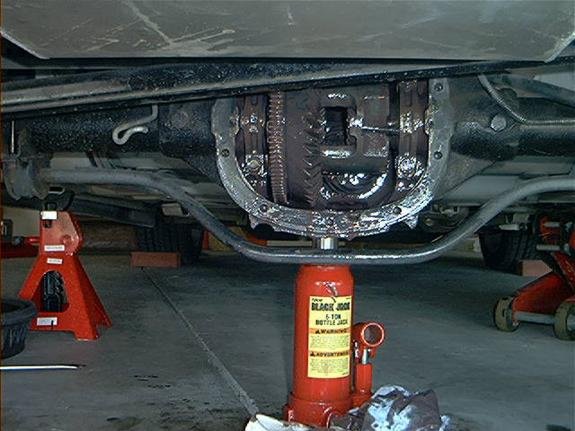
Turn the differential so that the screw faces towards you. The easiest way to do
this is to put the car in neutral and turn the driveshaft. Remove that sideways
facing screw (seen in the last picture at the bottom of the differential. It
will probably not go all the way out, but just enough to remove the center piece
and the two C clips pictured here.
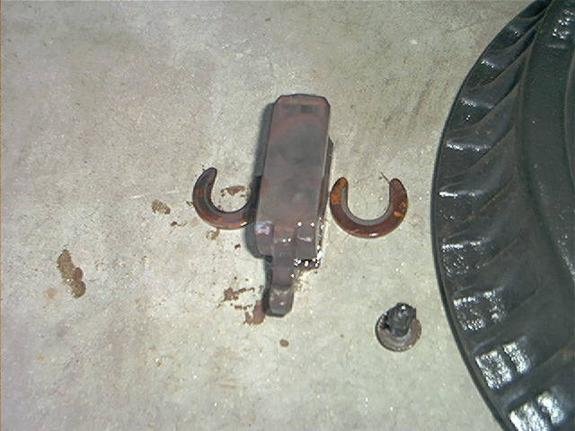
The center piece just pulls right out. The two c clips can be removed by pushing
the axles in gently and you can catch them as they fall off. Place them both
aside and do not loose them! Then remove the axles. Pull them out straight so as
not to bend them. Be Careful!
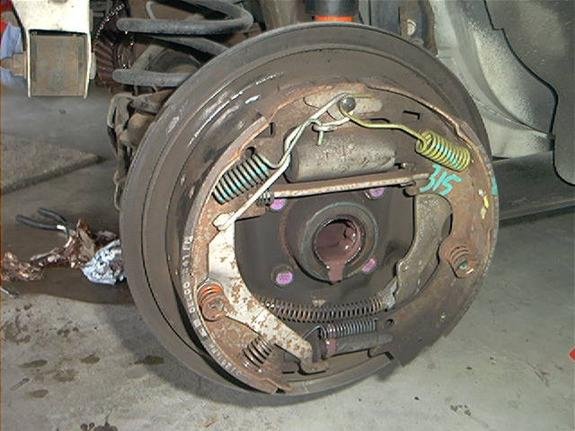
Now would be a good time take the brake lines out of the back of the drums.
Unscrew the brass fitting and the brake line will pop out. Be careful not to
strip it because you will have to screw it back in later. You may wish to cover
the end of the line so no dirt gets in there.
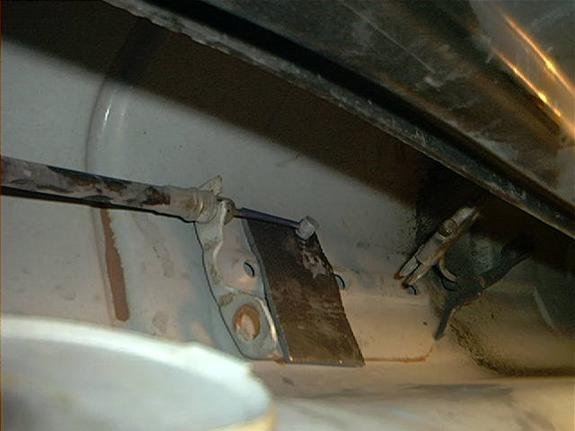
Next get under the center of the car and find where the two e-brake cables meet
into one. With a screwdriver pry out the cables from the clamps and pull them
out. It took me a while to figure just how to get them out.
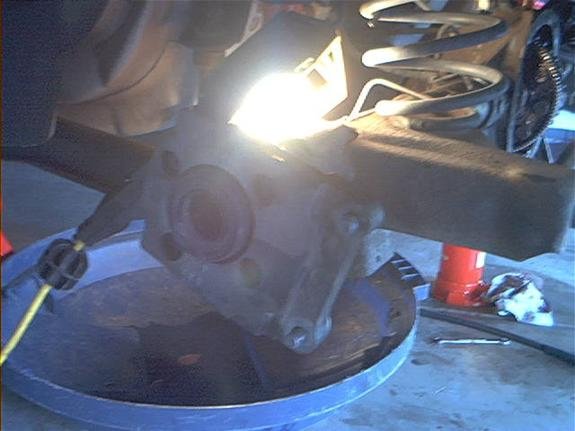
Next unbolt the drum as you should be able to get to the bolts now. Using the
same bolts bolt the backing plates onto the axles with the caliper holes towards
the back of the car. Be sure the caliper holes are also recessed inward or the
caliper will not fit correctly.
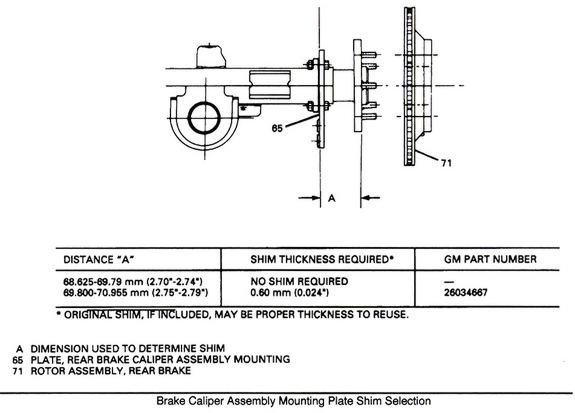
Put the axle-shafts back into the rear. Now you must measure the distance from
the end of the axle-shafts to the inside of the bracket. If the distance is
greater than 2.75 you must remove the caliper bracket and install GM shim #
12471185 (note that this number is different than the part number in the
diagram... it is a newer number). Place the axle shafts back in again and place
all three pieces back into the diff.
(Be sure to take this measurement with the c clips in place in the differential
or you will get an incorrect reading.)
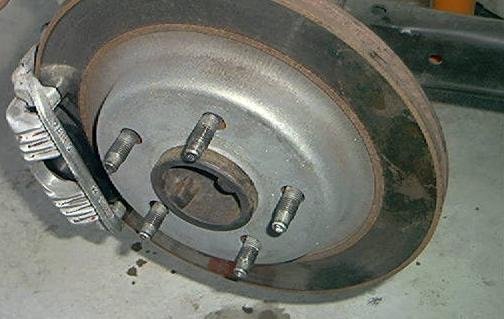
Now make sure you have greased up the pistons on the calipers. Your local auto
parts store will be able to tell you what sort of grease to use. With the brake
pads on the calipers slide them into place around the rotors and bolt them on.
You might need to depress the caliper and you can do so using a C clamp.
Screw the ends of the old brake lines in to the rubber lines included with the
caliper. route the e-brake cables back through the same brackets the old ones
came out of and install them where the lines meet. Clean up the lid to the
differential and place some permatex around the edge. Make sure you have placed
all three pieces back into the differential (c clips and spacer). Screw them in
well.
Bolt the cover back on. It is ok to use the old seal if it is in good shape.
Don't do it too tight or you will have leaks. I only tightened it as much as i
could with one hand and a 3/8ths wrench. Refill the differential to the fill
plug and snug it up.
Make sure you do a good job of bleeding the brakes. There will probably be a lot
of air in the lines. You must go around every bleeder, not just the rear wheels.
The Hanes manual has great instructions for beginners on brake bleeding.
Stick the rear wheels back on the car and you're ready to go!
Take the car out for a test drive after you think you've gotten all the air out
of the lines. Take it easy at first because the brakes may not be as strong as
you might expect. If they are weak at first go back to bleeding the brakes.
There is probably still air in the lines. Don't forget to test the E-Brake as
well.
Once everything is set up correctly you should notice a decent gain in stopping
power. I'd also say its worth the time and money just for the looks of the disk
setup alone.
PROS:
Better stopping power
Improved appearance (drums look sort of ugly)
Inexpensive used parts (my total cost was $180)
CONS:
Difficult install for beginners
Buying the parts new can be expensive (if you do this swap, you will probably
use used parts)
Brake dust accumulation on the rear wheels
for more pictures see:
http://www.cardomain.com/memberpage/218156/5
http://shbox.com/1/brake_pipes_rr.jpg
http://shbox.com/1/rr_disc.jpg
http://shbox.com/1/rear_caliper.jpg